

Bunker Sand Replacement and Maintenance: When to Top Up or Replace
Quick answer: Bunker sand fails slowly as silt, clay, organic matter and native soil work into it. Replace it when infiltration has dropped badly, the surface crusts or grows algae, or contamination reaches the floor. Top up when the sand is still clean but thin. Keep at least 4 inches on floors, test with an accredited lab, and insist on clean, dedicated trucks for delivery.
Why Bunker Sand Wears Out Over Time
Golfers think of bunker sand as permanent, but every superintendent knows it is a consumable. A bunker sits at a low point on the course, and everything that moves across the surface eventually finds its way into it: wind-blown soil, clippings, leaves, eroded material from the faces, and the fine particles that ride in with every storm. The sand also works as a filter. Water passes through it on the way to the drain tile, and the fines it carries get trapped in the pore spaces.
That filtering action is exactly why bunker sand degrades. One well-documented example on the bunker sand page shows infiltration dropping from 24 inches per hour to 12 inches per hour in just three years, while organic matter rose from 0.3% to roughly 1%. Nothing dramatic happened in that bunker. It simply did its job, and the sand paid the price.
The rate of decline depends on several things:
- Bunker design. Steep faces and flashed sand shed more material onto the floor and pull more soil from the edges.
- Surrounding grade. Bunkers that collect surface water from slopes above them receive far more sediment than bunkers with good diversion.
- Liner or no liner. Without a liner, native soil mixes into the sand every time the floor is raked or a ball plugs deep.
- Maintenance habits. Mechanical rakes set too deep, edging debris left in the bunker, and poor cleanup after storms all speed contamination.
- The original sand. A sand with a tight particle size range and minimal silt and clay starts with more drainage capacity to lose.
Treat bunker sand as having a working life. Track condition, plan top-ups, and schedule replacement before playability and drainage collapse.
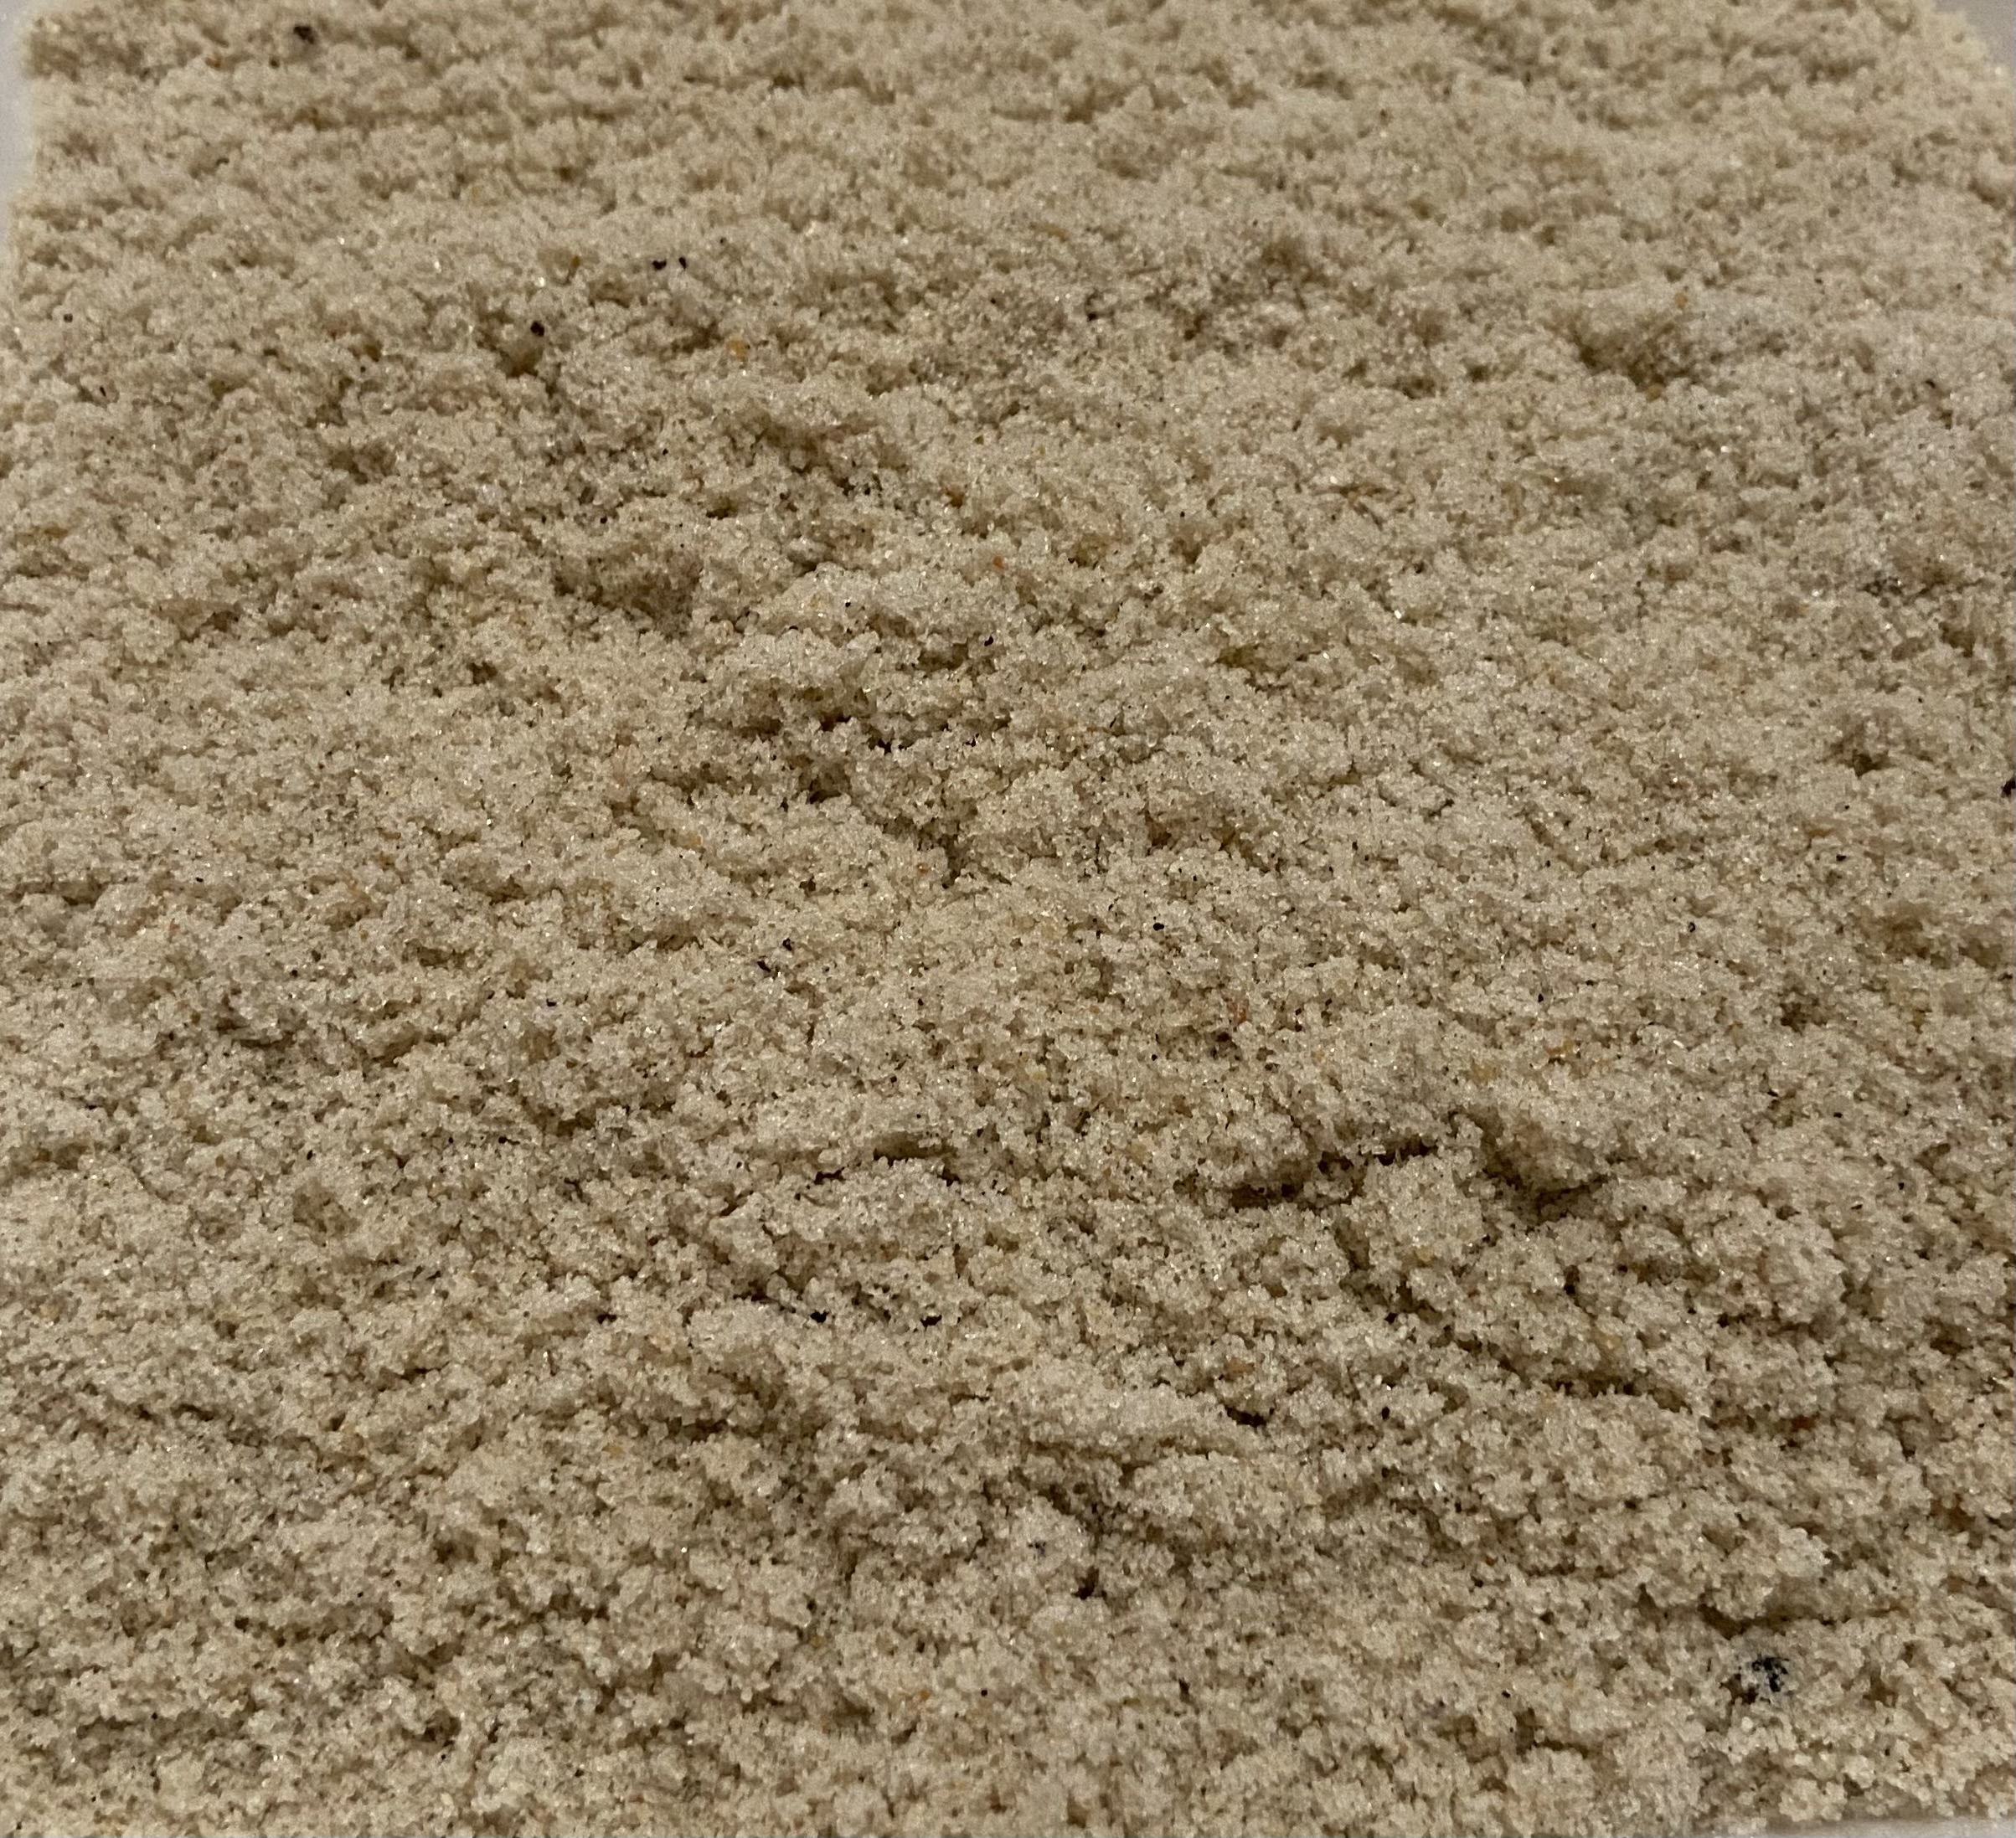
Sign One: Contamination From Soil, Stone and Debris

Contamination is the most common reason bunkers get rebuilt. It shows up in a few predictable ways, and most of them can be spotted with a shovel and a few minutes of attention.
Native soil in the sand
Dig a few test holes across the floor and along the toe of each face. Clean bunker sand should look uniform from top to bottom. If you see darker bands, streaks of red or brown clay, or a muddy layer sitting above the floor, native soil has moved in. In West Tennessee, where many courses sit on silt loam and clay subsoils, this mixing can happen quickly once a liner fails or a washout exposes the base.
Stones and gravel
Rocks in a bunker are a playability problem and a safety problem. They damage clubs, ricochet, and frustrate golfers. They usually come from the drainage gravel below, worked up through a torn liner or by rakes cutting too deep. Once stones appear consistently, the base is compromised and topping up only hides the issue for a season.
Organic debris
Leaves, clippings and roots creeping in from the edges all break down inside the sand. That organic matter holds water, encourages algae, and fills pore space. Edging that leaves turf and thatch in the bunker is a frequent culprit.
Mixed sand from past top-ups
A less obvious form of contamination is incompatible sand. If a bunker was topped up over the years with whatever sand was handy, you may have layers of different textures and colors. Layering disrupts water movement and changes how the ball sits. A probe or test pit that shows distinct bands of different sand is a strong hint that replacement, not another top-up, is the right fix.
When contamination reaches the floor or the drainage layer, the bunker is no longer filtering water. It is clogging. That is the point where replacement pays for itself.
Sign Two: Algae, Crusting and Surface Sealing
Some bunker problems are visible from the cart path. A green or black film on the sand surface, a hard crust that cracks underfoot, or a slick layer that holds puddles after rain all point to a sand that is no longer performing.
Algae
Algae grows where the surface stays wet and has something to feed on. In a clean, well-draining bunker, the top layer dries quickly and algae has little chance. Once fines and organic matter build up, the surface holds moisture for hours or days, especially in shaded bunkers or those tucked into low areas. A dark, slippery film on the floor is a sign the sand is retaining too much water, not just a cosmetic issue.
Crusting
Crusting potential is one of the seven factors used to evaluate bunker sand, alongside particle size, particle shape and penetrometer value, chemical reaction and hardness, infiltration rate, color and overall playing quality. Sand with excess silt and clay, or with particles that break down over time, binds together as it dries. The result is a hard cap that changes how balls react and makes raking difficult. If your crew is fighting a crust after every rain, the fines content has likely climbed past where it should be.
Surface sealing
Sealing happens when fine particles migrate to the surface and fill the gaps between sand grains. Water then sits on top instead of moving down. You will notice standing water long after the rest of the course has dried, and the edges of puddles leave a muddy ring as they shrink.
Light cases of crusting can sometimes be managed by thorough raking and removing the top layer of contaminated sand before a top-up. But when algae, crusting and sealing appear together across the whole bunker, the sand has lost its structure. Adding fresh sand on top of a sealed layer creates a perched layer that will fail again, often faster than the first time.
Sign Three: Slow Infiltration and Washouts
Drainage is the most important job a bunker has, and infiltration rate is the most objective way to measure how well the sand is doing it. Fresh, quality bunker sand moves water fast. As fines accumulate, that rate falls, sometimes by half in a few seasons.
Simple field checks
You do not need lab equipment to see a trend. After a heavy rain, note how long each bunker holds standing water compared to the others. Keep a simple log by hole. The bunkers that are consistently last to drain are your replacement candidates. A basic ring infiltrometer test, where you push a metal cylinder into the sand, fill it with water and time the drop, gives you a number you can compare year to year.
Lab testing
For a definitive answer, send samples from several locations in the bunker to an accredited physical soil testing lab. Ask for particle size distribution, infiltration rate, and organic matter. Compare the results to the original spec sheet if you have one. Jackson Sand publishes full lab analyses for its products on the sand specs page, which gives you a clean baseline to compare against.
Washouts tell a story too
Washouts on bunker faces are often blamed on the sand, and sometimes that is fair. Sand with poor particle shape or low penetrometer values will not hold on a slope. But frequent washouts can also point to surface water drainage problems above the bunker. If water is pouring over the lip during storms, even perfect sand will move. Before you replace sand on a chronically washed-out bunker, look at the grading and inlets around it. The guidance on surface water drainage and slope is a good starting point for diagnosing where water is coming from.
When infiltration has dropped significantly and lab results show silt, clay or organic matter well above the original numbers, the sand is clogged. That is a clear replacement signal.
Recommended Bunker Sand Depths

Depth is where many bunker problems start. Too little sand and the ball contacts the base, rakes pull up soil and stone, and the liner gets torn. Too much sand and the ball buries, footing is soft, and faces become unstable. Getting depth right is half of good bunker maintenance.
The general guidance used across the industry is straightforward: keep a minimum of 4 inches on bunker floors, and a thinner, consistent layer on the faces where the sand must hold on the slope. Exact targets vary with sand type, bunker style and the playing conditions your golfers expect, but the table below is a practical starting point.
| Bunker area | Typical target depth | Why it matters |
|---|---|---|
| Floor | 4 inches minimum (many courses run 4 to 6) | Keeps rakes and club contact off the base and liner; gives consistent lies |
| Faces | About 2 inches, uniform | Thin enough to stay put on the slope, deep enough to protect the liner |
| Toe of faces | Watch closely; sand tends to pile here | Sand migrating down the face can bury balls and leave the face bare |
| Over drain lines | Same as floor, never thin | Thin spots over tile let fines and stone mix with sand |
How to check depth
Use a probe or a marked rod and check on a grid, not just in a few spots. Many crews mark readings on a simple sketch of each bunker every month or after major storms. Sand migrates constantly, especially after heavy rain or aggressive mechanical raking, so a bunker that measured 4 inches everywhere in spring may be 2 inches on one side and 7 on the other by August.
Redistribute before you add
Before ordering more sand, push existing sand back up the faces and level the floor. Often only the distribution is off.
Top Up or Fully Replace? How to Decide
Topping up and full replacement solve different problems. A top-up restores depth when the existing sand is still sound. A full replacement fixes sand that has failed. Choosing the wrong one wastes money either way: topping up failed sand buries the problem, and replacing healthy sand throws away material that still had years of life.
| Condition | Top up | Full replacement |
|---|---|---|
| Sand clean, just thin in spots | Yes | No |
| Infiltration close to original rate | Yes | No |
| Native soil mixed into floor | No | Yes |
| Stones working up from the base | No | Yes, plus base and liner repair |
| Persistent algae and crusting across the bunker | Rarely | Usually |
| Layers of mismatched sand from past top-ups | No | Yes |
| Infiltration down sharply, high silt, clay or organic matter in lab test | No | Yes |
| Washouts caused by surface water from above | Fix drainage first | Only after drainage is fixed |
Topping up the right way
If a top-up is justified, use the same sand that is already in the bunker, or one with a very similar particle size distribution. Mixing a coarse sand over a fine one, or the reverse, creates a layer that changes how water moves and how the ball sits. Rake out debris and any thin crust before spreading new sand, then blend the new material into the top inch or two so there is no sharp boundary.
Thinking about replacement as a program
Most courses cannot replace every bunker in a single season. Rank bunkers by condition using your drainage log, test pits and lab results, then replace the worst first. Spreading the work across several years keeps budgets predictable and lets you match sand across the course over time. If you are replacing in phases, choose one sand and stick with it so bunkers play the same from hole to hole.
The Bunker Replacement Process, Step by Step
A full replacement is more than pulling old sand and dumping new. Done well, it resets the bunker for years. Done poorly, it moves the problem a few inches up.
- Test and document. Record depth readings, infiltration and lab results before work begins so you can measure the improvement later.
- Remove contaminated sand completely. Strip down to the base or liner. Leaving a contaminated layer at the bottom defeats the purpose.
- Inspect and repair drainage. Flush or camera the drain lines. Replace crushed pipe and dirty gravel. Clean drainage gravel around perforated pipe is the standard for subsurface drainage, and resources on seepage drainage explain the layout options.
- Repair or install a liner. If native soil was migrating into the sand, the barrier failed. A liner or stabilized base keeps the new sand clean longer.
- Fix the edges and grade. Recut edges, address faces that are too steep for the sand to hold, and divert surface water that runs into the bunker.
- Calculate the volume. Measure the area and target depth and convert to cubic yards. The formula is length in feet times width in feet times depth in feet, divided by 27. A 1,000 square foot bunker at 4 inches needs about 12.3 cubic yards before any allowance for faces or settling. The free yardage calculator makes this quick.
- Place and firm the sand. Spread in lifts, pack the faces, and water in to help settle the sand before play.
- Measure again. Probe on your grid to confirm depth, then record the new baseline.
Why Clean Delivery Matters as Much as Clean Sand
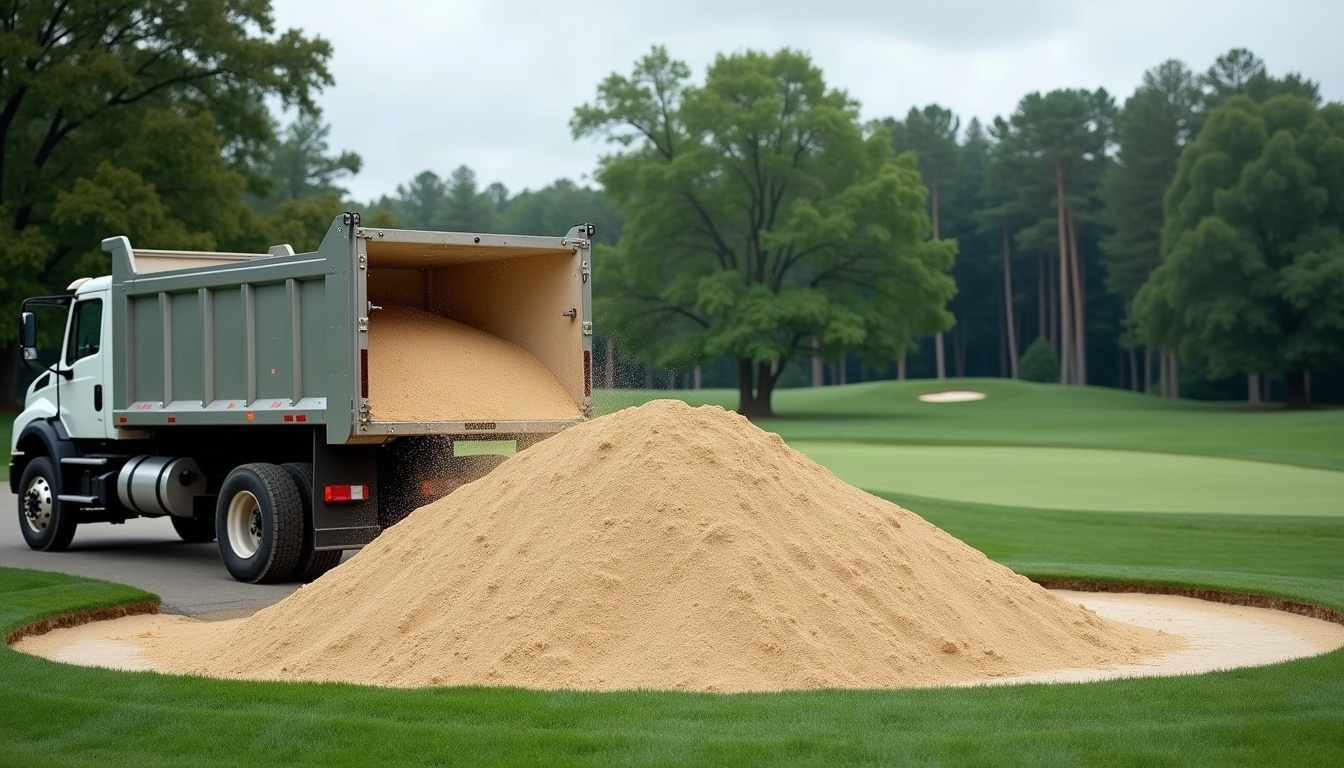
You can specify the perfect bunker sand and still end up with a contaminated bunker if the truck that delivers it hauled clay, crushed stone or topsoil the day before. Residue left in a truck bed mixes into the load, and that contamination goes straight into your new bunker. The fines and stone that you just paid to remove come right back in.
Common hauling fleets carry a wide variety of materials, and thorough cleanout between loads is not always a priority. A few hundred pounds of clay or gravel in a load of bunker sand may not look like much in the pile, but spread across a bunker floor it is enough to create the very crusting and drainage problems you are trying to fix.
How Jackson Sand handles delivery
Jackson Sand owns its trucks, a fleet that has grown from about one truck in the early days to around 14 today. That lets the company maintain strict cleanliness standards and avoid cross-contamination between products, so you get exactly what you ordered. The sand is mixed on Jackson Sand’s own premises with high-quality materials, which is what the company means by “sand from the source.” Material is washed and classified at the plant, then goes from their yard to your site without passing through a third-party hauler.
What to ask any supplier
- Who owns and operates the delivery trucks?
- What did the truck haul before my load, and how is it cleaned?
- Can you provide a current lab analysis for the exact product I am ordering?
- Is the sand produced and blended on site, or bought and resold?
Inspect every load when it arrives. Look for clods, stone, or color changes in the pile before it goes into a bunker. Catching a bad load at the dump site is far cheaper than finding it in the bunker after the first rain.
Choosing the Right Replacement Sand
Replacement is the best chance you will get to choose the sand your bunkers play with for the next several years. Jackson Sand offers two bunker sands, both with published lab analyses. Particle size data for each is shown below.
| Lab result | Regular Bunker Sand | TN White Bunker Sand |
|---|---|---|
| Total sand | 99.3% | 99.6% |
| Silt | <1.0% | 0.2% |
| Clay | <1.0% | 0.1% |
| Gravel | 0.1% | 0.1% |
| Very coarse (1.0 mm) | 1.5% | 2.1% |
| Coarse (0.5 mm) | 10.7% | 22.8% |
| Medium (0.25 mm) | 67.9% | 50.7% |
| Fine | 18.0% (0.15 mm), 1.1% (0.10 mm) | 22.3% |
| Very fine | 0.2% | 1.7% |
Regular Bunker Sand
Regular Bunker Sand is concentrated in the medium range, with a D85 of 0.49 mm and a uniformity coefficient (Cu) of 2.0. A low Cu means the particles are similar in size, which helps keep pore space open and supports good infiltration.
TN White Bunker Sand
TN White is a bright white sand with very low silt and clay. Its coarse plus medium fraction totals 73.5%, comfortably above the 65% minimum guideline often used for bunker sands. Courses choose it when they want strong visual contrast against turf along with clean drainage.
Whichever you pick, compare the lab sheet to your current sand and to your playability goals. The golf course sand overview covers the full product line if you are also planning top dressing or divot sand purchases at the same time.
Plan Your Bunker Project With Jackson Sand
Bunker maintenance comes down to a few habits: measure depth regularly, watch drainage after every big rain, test the sand when trends change, and replace before failure spreads to the drainage system. When it is time for new sand, start with a clean product, delivered clean.
Jackson Sand has been in production since around 1996 and has made golf-course-grade bunker sands, top dressings and root zone mixes since about 1998. It serves golf courses, landscapers and contractors across West Tennessee and the Mid-South from its yard at 139 United Dr. in Jackson, hauling golf-grade material as far as Huntsville, Alabama, Jackson, Mississippi, Little Rock and Owensboro, Kentucky. The company mixes sand on its own premises and delivers in its own trucks, so the sand that arrives matches the lab sheet you reviewed.
If you are planning a bunker replacement, a phased renovation, or just need sand to top up this season, call 731-668-0440 or contact Jackson Sand online to talk through products, quantities and scheduling.
Inside the Jackson Sand Plant
Take a 90-second look at where our sand comes from: the washing plant, screens and conveyors, and the Jackson Sand truck fleet that delivers every load. President Carlton Pope tells the story of how the company grew from one truck in 1996.
Sources and Further Reading
- monitoring sand contamination in bunkers (USGA Green Section Record)
- making old bunkers new again (USGA Green Section Record)
- adding new sand to existing bunkers (USGA)
- why do bunkers wash out? (USGA)
- USGA guide to selecting bunker liners (USGA Green Section Record)
Frequently Asked Questions
How often should golf course bunker sand be replaced?
There is no fixed schedule. Replacement depends on how fast contamination builds up, which varies with bunker design, surrounding grade, liners and maintenance practices. Many courses replace sand when infiltration has dropped sharply, native soil or stone has mixed into the floor, or algae and crusting persist. Tracking drainage after storms and testing sand periodically tells you when a bunker is due.
How deep should sand be in a golf bunker?
General guidance calls for at least 4 inches of sand on bunker floors, with many courses running 4 to 6 inches. Faces usually carry a thinner, uniform layer of about 2 inches so the sand stays on the slope while still protecting the liner. Check depth on a grid with a probe, because sand migrates after rain and raking.
Can I just add new sand on top of old bunker sand?
Only if the existing sand is still clean and drains well. Topping up contaminated or sealed sand creates a layer that traps water and fails again quickly. Rake out debris and crust first, use the same or a very similar sand, and blend the new material into the top layer so there is no sharp boundary between them.
What causes algae in golf course bunkers?
Algae grows when the sand surface stays wet and has organic matter to feed on. As silt, clay and debris build up, the sand holds water longer, especially in shade or low areas. Algae is usually a symptom of declining infiltration, so persistent growth across a bunker is a sign the sand may need replacement.
How much sand do I need to replace a bunker?
Multiply length in feet by width in feet by depth in feet, then divide by 27 to get cubic yards. A 1,000 square foot bunker at 4 inches deep needs about 12.3 cubic yards. Add a small allowance for faces and settling. Jackson Sand's free yardage calculator at jacksonsand.com handles the math for you.
Why does it matter who delivers bunker sand?
Trucks that haul clay, gravel or topsoil can leave residue that mixes into your sand load. Those fines and stones end up in the bunker and cause the crusting and drainage problems you are trying to fix. Jackson Sand owns its trucks and keeps strict cleanliness standards to avoid cross-contamination.
Ready to order or have a question about the right material? Call Jackson Sand at 731-668-0440 or send us a message and we will help you pick the right product and quantity.
Leave a Reply